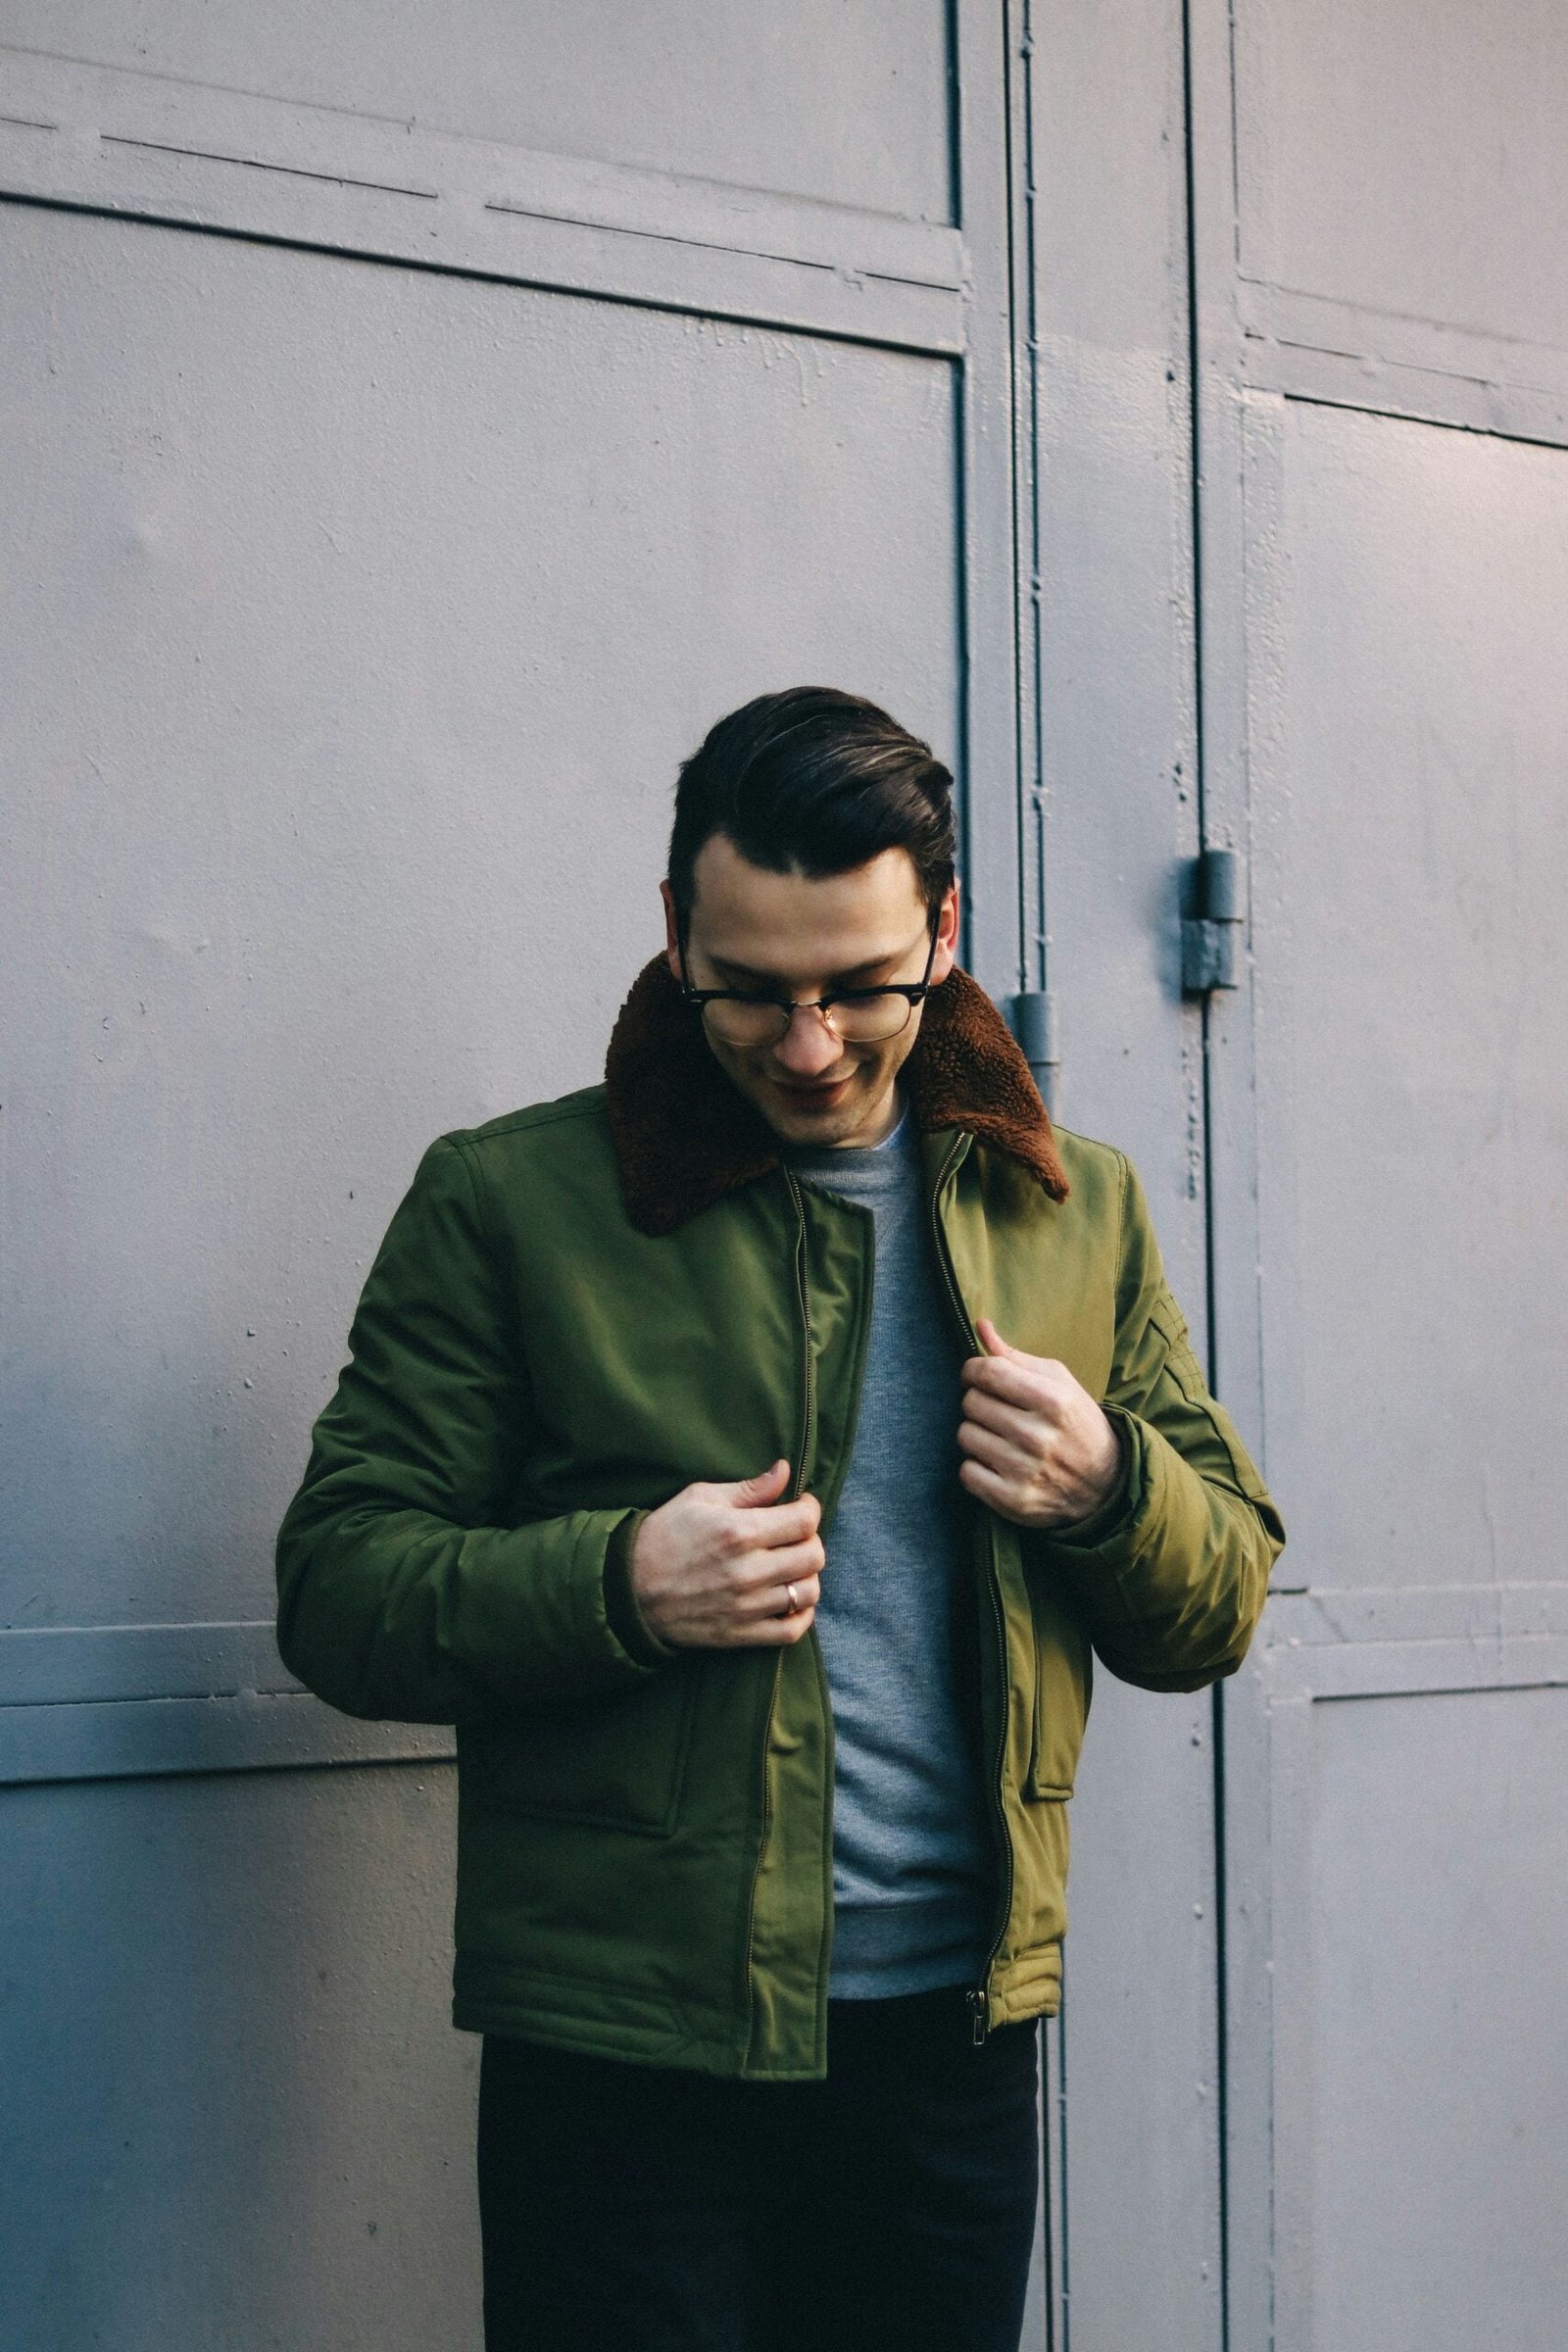
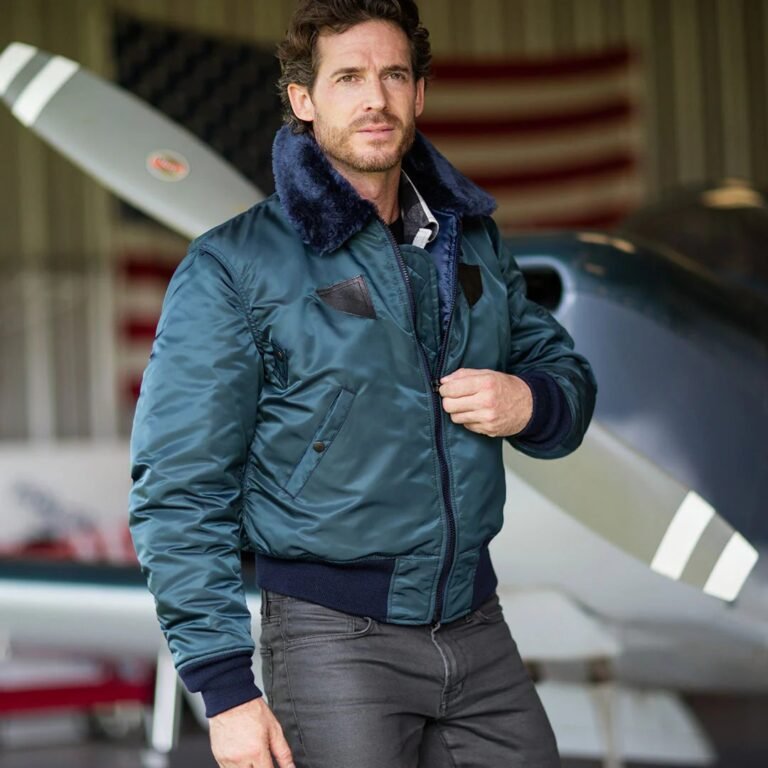
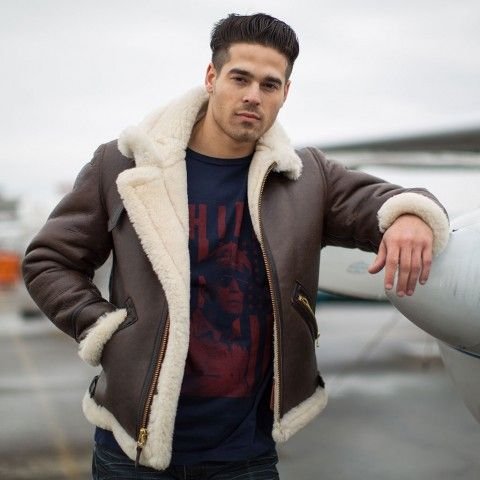
How to Make a Bomber Jacket: A Step-by-Step Guide
Materials and Tools Needed
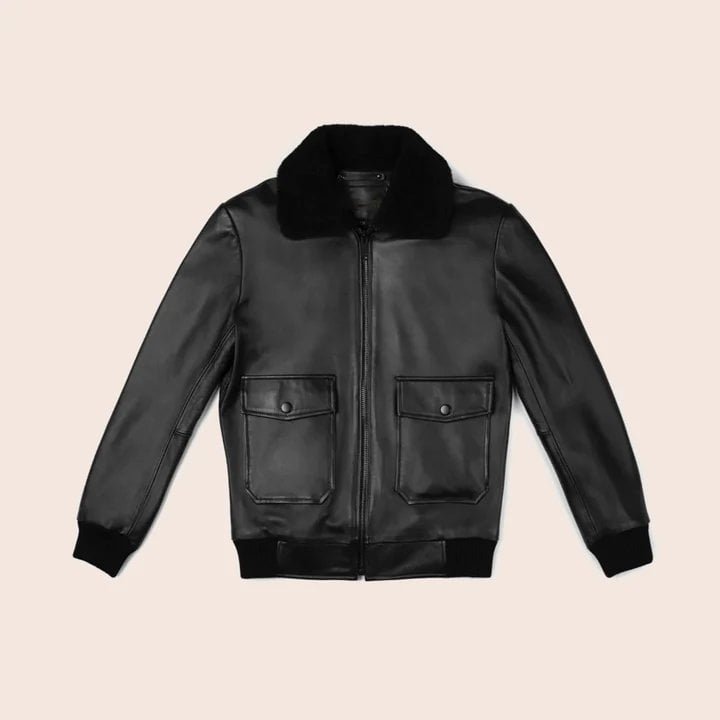
Creating a bomber jacket involves gathering a selection of specific materials and tools to ensure the final product is both durable and stylish. The primary fabric options for a bomber jacket include nylon, polyester, or leather. Nylon and polyester are popular choices due to their lightweight and water-resistant properties, making them suitable for everyday wear. Leather, on the other hand, offers a more premium and classic appeal, although it requires more care and is generally more expensive.
The lining of the bomber jacket is equally important, as it adds comfort and insulation. Common lining materials include polyester, cotton, or a blend of both. Quilted linings are also an option for added warmth and a more structured look. Material choice should align with the intended use of the jacket, whether it’s for casual wear or for colder weather.
In terms of tools, a reliable sewing machine is essential, preferably one that can handle heavy-duty fabrics like leather. Additionally, a variety of needles will be needed, including standard sewing needles and specialized needles for thicker materials. Sharp scissors are crucial for cutting fabric precisely, while fabric chalk or a marking pen will help in outlining the pattern pieces.
Zippers are a key component of a bomber jacket, typically made of metal or plastic. Ribbing for the cuffs, waistband, and collar is also necessary, usually made from a stretchy knit fabric to ensure a snug fit. Other accessories may include buttons or snaps for additional closures, thread that matches the fabric, and interfacing to provide structure to specific parts of the jacket.
Sourcing these materials can be done through various avenues. Local fabric stores often stock a wide range of fabrics and notions, while online retailers provide access to a broader selection and competitive prices. For those on a budget or seeking unique materials, thrift stores or repurposing old garments can be viable alternatives. Ensuring you have all the necessary materials and tools gathered before starting will streamline the jacket-making process and enhance the overall quality of the finished product.
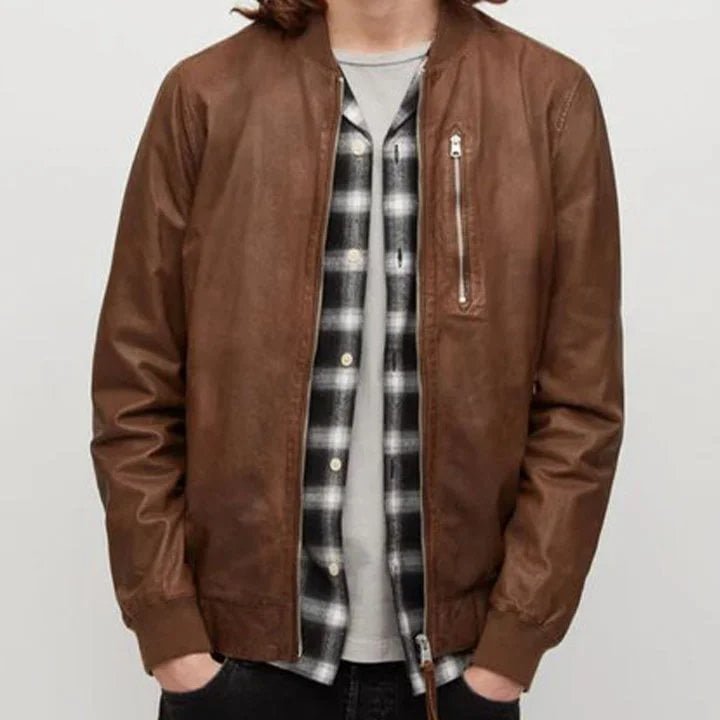
Creating the Pattern
Creating a precise pattern is the cornerstone of crafting a well-fitted bomber jacket. To begin, you will need to either purchase a pre-made bomber jacket pattern or draft one yourself. A typical bomber jacket is composed of several key parts: the front and back panels, sleeves, collar, cuffs, and waistband. Each part needs to be accurately measured and cut to ensure a perfect fit.
First, measure your body accurately. Key measurements include the chest, waist, hip, shoulder width, arm length, and neck circumference. Using a measuring tape, note these dimensions carefully, as they will guide the adjustments you make to your pattern. For a more custom fit, you might need additional measurements, such as the back length and bicep circumference.
Once you have your measurements, compare them against the pattern. Most commercial patterns come with a range of sizes and adjustment lines. If you are drafting your own pattern, use the measurements to draw out each part of the jacket. Remember to include seam allowances, typically around 1/2 inch, to ensure adequate room for sewing.
Transfer your pattern onto the fabric using tailor’s chalk or a fabric marker. Lay out your fabric on a flat surface and pin the pattern pieces in place to avoid any shifting. Carefully cut around each piece, following the outlines precisely. For beginners, reading and understanding sewing patterns might seem daunting. Key symbols and notations will guide you on where to stitch, fold, or make adjustments. Refer to the pattern’s legend or instruction sheet for clarification.
Tips for beginners include practicing on cheap fabric before cutting into your final material and watching video tutorials for visual guidance. Taking time to understand each step will ensure that your pattern is accurate and that the final garment fits well. By following these steps meticulously, you will set a solid foundation for the construction of your bomber jacket.

Cutting and Sewing the Fabric
Once you have your bomber jacket pattern ready, it’s time to cut out the fabric pieces. Begin by laying out your fabric on a flat surface, ensuring it is free from wrinkles. Pin the pattern pieces onto the fabric, aligning the grainlines as indicated on the pattern. Using sharp fabric scissors, cut around the pattern pieces carefully, making sure to follow the lines precisely. This will help you avoid fabric waste and ensure the pieces fit together perfectly.
Next, transfer any markings from the pattern onto the fabric using tailor’s chalk or fabric markers. This step is crucial for accurate assembly later on. When cutting, remember to include the seam allowances as specified in the pattern, typically about 1/2 inch. These allowances will give you enough room for stitching without compromising the fit of the jacket.
With all fabric pieces ready, the sewing process can begin. Start with the main body parts of the bomber jacket. Pin the front and back pieces together at the shoulders and side seams, ensuring the right sides of the fabric are facing each other. Use a straight stitch to sew these seams, and then press them open with an iron to achieve a neat finish.
Next, attach the sleeves. Pin the sleeve pieces to the armholes, matching the notches on the pattern for proper alignment. Sew the sleeves in place using a straight stitch, and then press the seams towards the sleeves. After the sleeves are attached, sew the underarm and side seams in one continuous line to ensure a smooth finish.
The final steps involve attaching the collar, cuffs, and waistband. For the collar, pin it along the neckline and use a straight stitch to secure it. Then, follow the same process for the cuffs and waistband, ensuring they are evenly distributed around the edges. Press all seams and edges for a polished look. Depending on the fabric and design, you might use different stitching techniques such as zigzag or overlock stitches to finish the edges and prevent fraying.
Finishing Touches and Customization
As you reach the final stages of crafting your bomber jacket, it’s time to add the finishing touches and personalize your creation. The first step is to sew in the lining. This internal layer not only enhances the jacket’s comfort but also conceals seams and provides a polished look. Carefully align the lining with the jacket’s interior, ensuring that it fits smoothly without any puckers. Use a hand needle or sewing machine to attach the lining securely along the edges.
Next, focus on fastening mechanisms such as zippers or buttons. If you opt for a zipper, choose one that complements the fabric and the jacket’s overall style. Position the zipper along the front opening, ensuring it is straight and aligned. Pin it into place before sewing to avoid misalignment. If you prefer buttons, mark the buttonholes’ positions on the jacket and use a buttonhole foot attachment on your sewing machine to create them. Sew the buttons on the corresponding side, ensuring they match the buttonholes perfectly.
Customization is where your creativity can shine. Consider adding patches, embroidery, or appliqués to give your bomber jacket a unique flair. Patches can be sewn or ironed onto the jacket, while embroidery offers a more intricate and personal touch. Plan your designs and placement carefully to ensure they enhance the jacket’s aesthetics without overwhelming it.
Once the decorative elements are in place, conduct a final fitting. Wear the jacket and check for any areas that may need adjustments. This step is crucial for achieving a perfect fit and ensuring your comfort. Make any necessary alterations, such as taking in seams or adjusting the sleeve length.
Lastly, proper care and maintenance are essential for the longevity of your bomber jacket. Follow the fabric’s care instructions, which may include dry cleaning or gentle machine washing. Store the jacket in a cool, dry place and avoid prolonged exposure to direct sunlight to prevent fading.
By paying attention to these finishing touches and customization options, you can create a bomber jacket that is not only stylish but also tailored to your preferences, ensuring it remains a cherished wardrobe staple for years to come.


