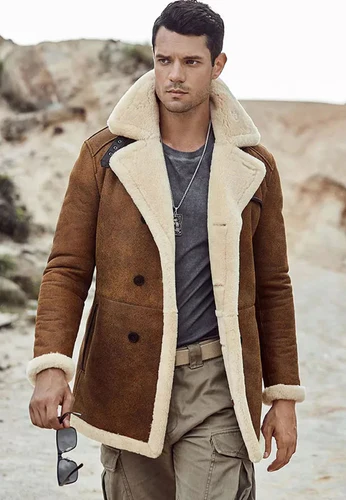
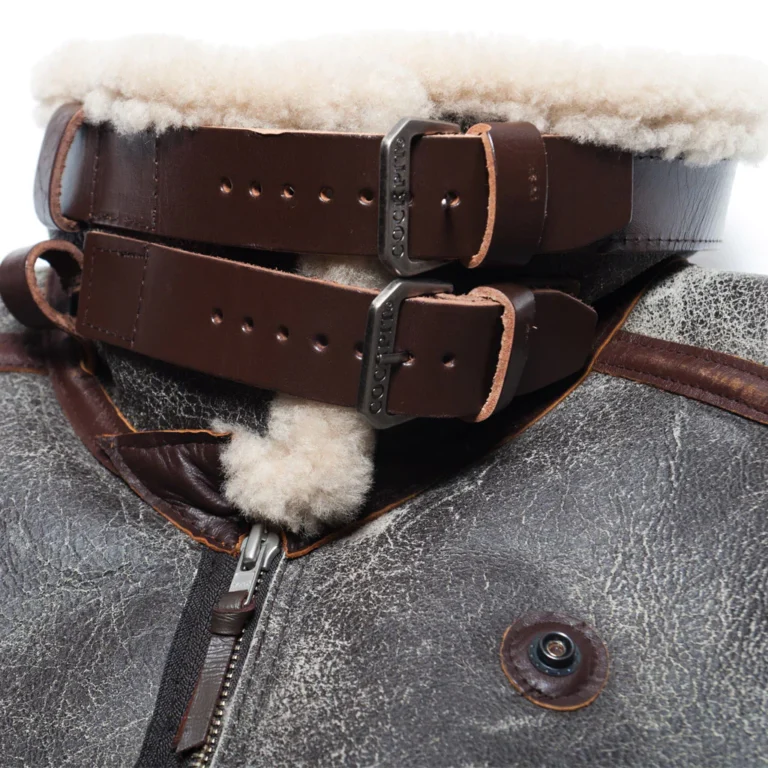
How to make shearling coat ?
Understanding Shearling: Materials and Tools Needed
Shearling, distinguished as lambskin with the wool still intact, creates a unique and desirable fabric for outerwear. Its appeal lies in its natural insulating properties, providing warmth and a luxurious texture that is both soft and durable. Shearling’s natural fibers circulate air, making it an ideal material for creating coats that can be worn comfortably across various climates.
Several types of shearling are available, each offering distinct characteristics. British shearling is known for its robustness and thicker wool, providing excellent warmth. On the other hand, Spanish Merino shearling is celebrated for its lightweight nature and finer texture, making it a preferred choice for more fashion-forward designs. Additionally, there’s Toscana shearling, renowned for its long, silky wool that adds a sumptuous and elegant touch to any garment.
Creating a shearling coat requires a variety of materials beyond the shearling itself. Linings are essential, often made from silk, satin, or quilted fabrics, to complement the luxurious exterior while enhancing comfort and durability. The choice of thread is also crucial; high-quality, heavy-duty polyester or nylon threads are recommended to ensure that seams remain strong and resilient against wear.
Reinforcing agents such as leather adhesives or tapes can be necessary for enhancing seam strength and providing additional durability to stress points like pockets and cuffs. Using these materials ensures the finished garment maintains its shape over time while withstanding the rigors of daily wear.
Equally important are the specific tools required for working with shearling. Leather cutters or rotary blades are indispensable for making precise cuts through thick lambskin. A heavy-duty or industrial-grade sewing machine equipped with specialized leather needles is crucial for managing the thick material without compromising on stitching quality. Availing oneself of these tools ensures that the manufacturing process remains seamless and professional from start to finish.
Understanding the distinct qualities of shearling and equipping oneself with the appropriate materials and tools sets a solid foundation for crafting a high-quality, durable, and stylish shearling coat.
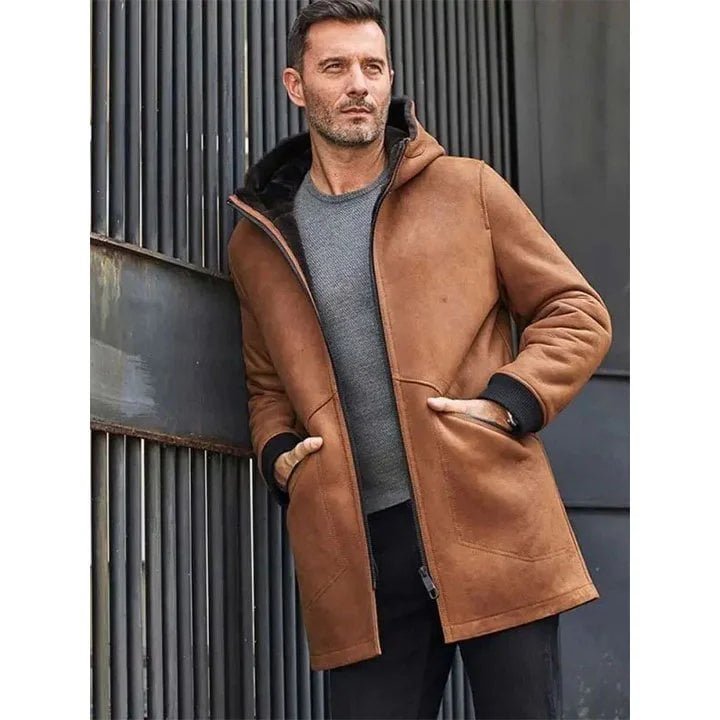
Designing Your Shearling Coat
Creating a shearling coat begins with a meticulous design process, where precision and creativity converge. Accurate body measurements are fundamental. Use a flexible tape measure to record key dimensions such as chest, waist, hips, arm length, and shoulder width. Translate these measurements into a coat pattern, ensuring you leave adequate ease for comfort and layering.
When envisioning your shearling coat, consider the myriad of styles available. A bomber jacket offers a casual, sporty look, while a trench coat exudes elegance and sophistication. For those seeking a rugged, timeless appearance, an aviator jacket might be the ideal choice. Each style can be customized with various design elements; for instance, collars can range from classic lapels to shawl and funnel shapes.
Pockets are both functional and aesthetic components. Opt for welt pockets for a clean, streamlined look, or patch pockets for a more casual vibe. The choice of closures also influences the overall design. Zippers offer modern convenience, while buttons provide a traditional touch. For a distinctive feel, consider using toggles or snaps.
Drafting a pattern requires skill but it’s entirely achievable whether you prefer hand-drawing or utilizing digital design software. For hand-drafting, start with basic blocks based on your measurements, and modify them to reflect your chosen coat style. Using digital software can streamline this process, allowing you to manipulate and adjust patterns with precision.
Adjustments to the pattern might be necessary to achieve the right fit and style. Conduct a mock fitting using a muslin fabric. This allows you to refine the pattern before cutting into your precious shearling material. Make adjustments in areas such as sleeve length, coat length, and fit around the torso to ensure the final piece is both comfortable and flattering.
With these preliminary steps, you are well on your way to creating a shearling coat that is uniquely tailored to your style and fit preferences.
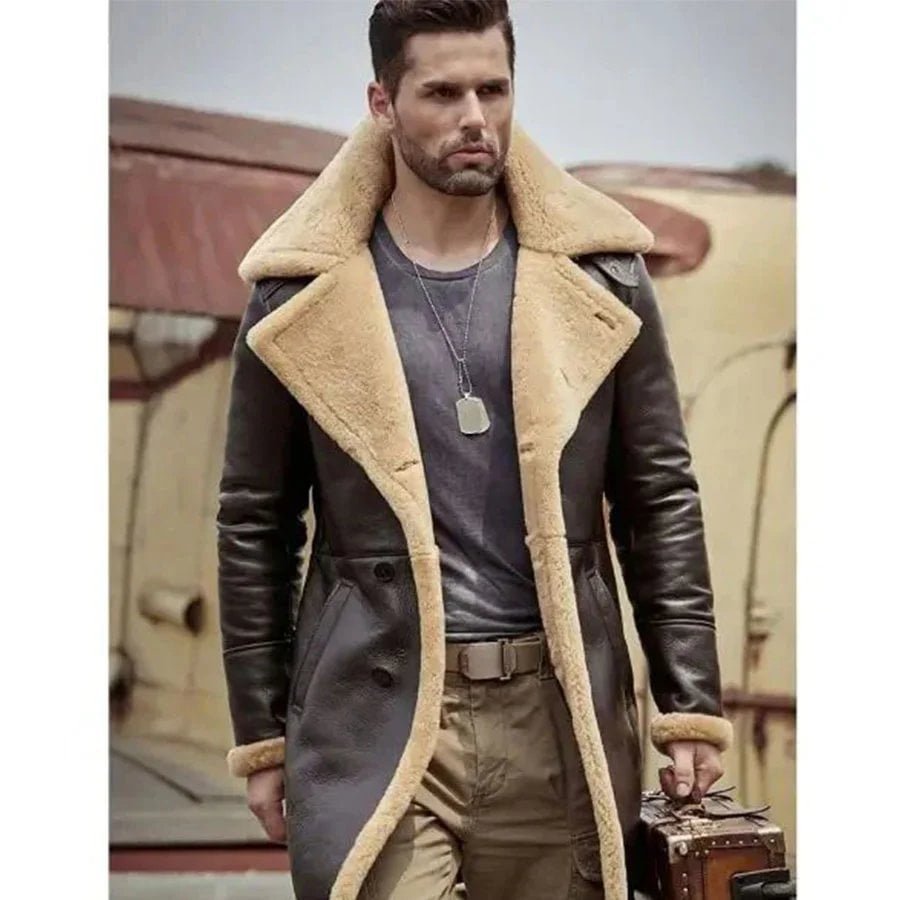
Cutting and Sewing the Shearling
Creating your own shearling coat involves precise cutting and sewing techniques. The first step is to transfer your pattern onto the shearling material. Lay out the shearling with the suede side facing up, secure your pattern pieces with weights or pins, and trace around each piece using a fabric chalk or a marker suited for shearling. It’s crucial to be strategic with your placement to minimize waste of the valuable material.
When cutting shearling, use sharp fabric scissors or a rotary cutter to ensure clean edges. Cutting with a slightly larger seam allowance than typical fabrics can help manage any stretching or misalignment during the sewing process. Always cut on a stable, non-slip surface to avoid injury and mismatches.
The next phase is sewing the pieces together. For shearling, a walking foot on your sewing machine effectively handles the material’s thickness. Use heavy-duty, polyester thread for its durability. A strong, straight stitch is most suitable, with a stitch length of about 3-4mm. Before starting, adjust the stitch tension to accommodate the fabric’s bulk and test on a scrap piece to avoid surprises.
Begin assembly by joining the main body pieces first, moving onto the sleeves, and then the finer details such as the collar and pockets. Thicker seams can be challenging; consider hammering or using a seam roller to flatten them, making the process smoother. Topstitching can also add strength and a professional finish to these areas.
Preventing fabric stretching is another vital aspect. Pinning strategically and using clips where necessary can help maintain the shearling’s shape. If you notice any stretching, re-secure the fabric and proceed cautiously.
Troubleshooting common issues involves ensuring you address thread tension problems immediately, as they can lead to puckering or skipped stitches. Using a dedicated leather or shearling needle is essential to avoid breaking or dulling regular needles. Practicing on scrap material before sewing the final pieces is always a wise step.
By following these detailed steps and tips, you’ll achieve expertly cut and sewn shearling pieces, setting the foundation for creating a beautiful, custom shearling coat.

